Need an Installer?
If you have limited access to tools or are short for time, we’ve got you covered! View our list for recommended installers here.
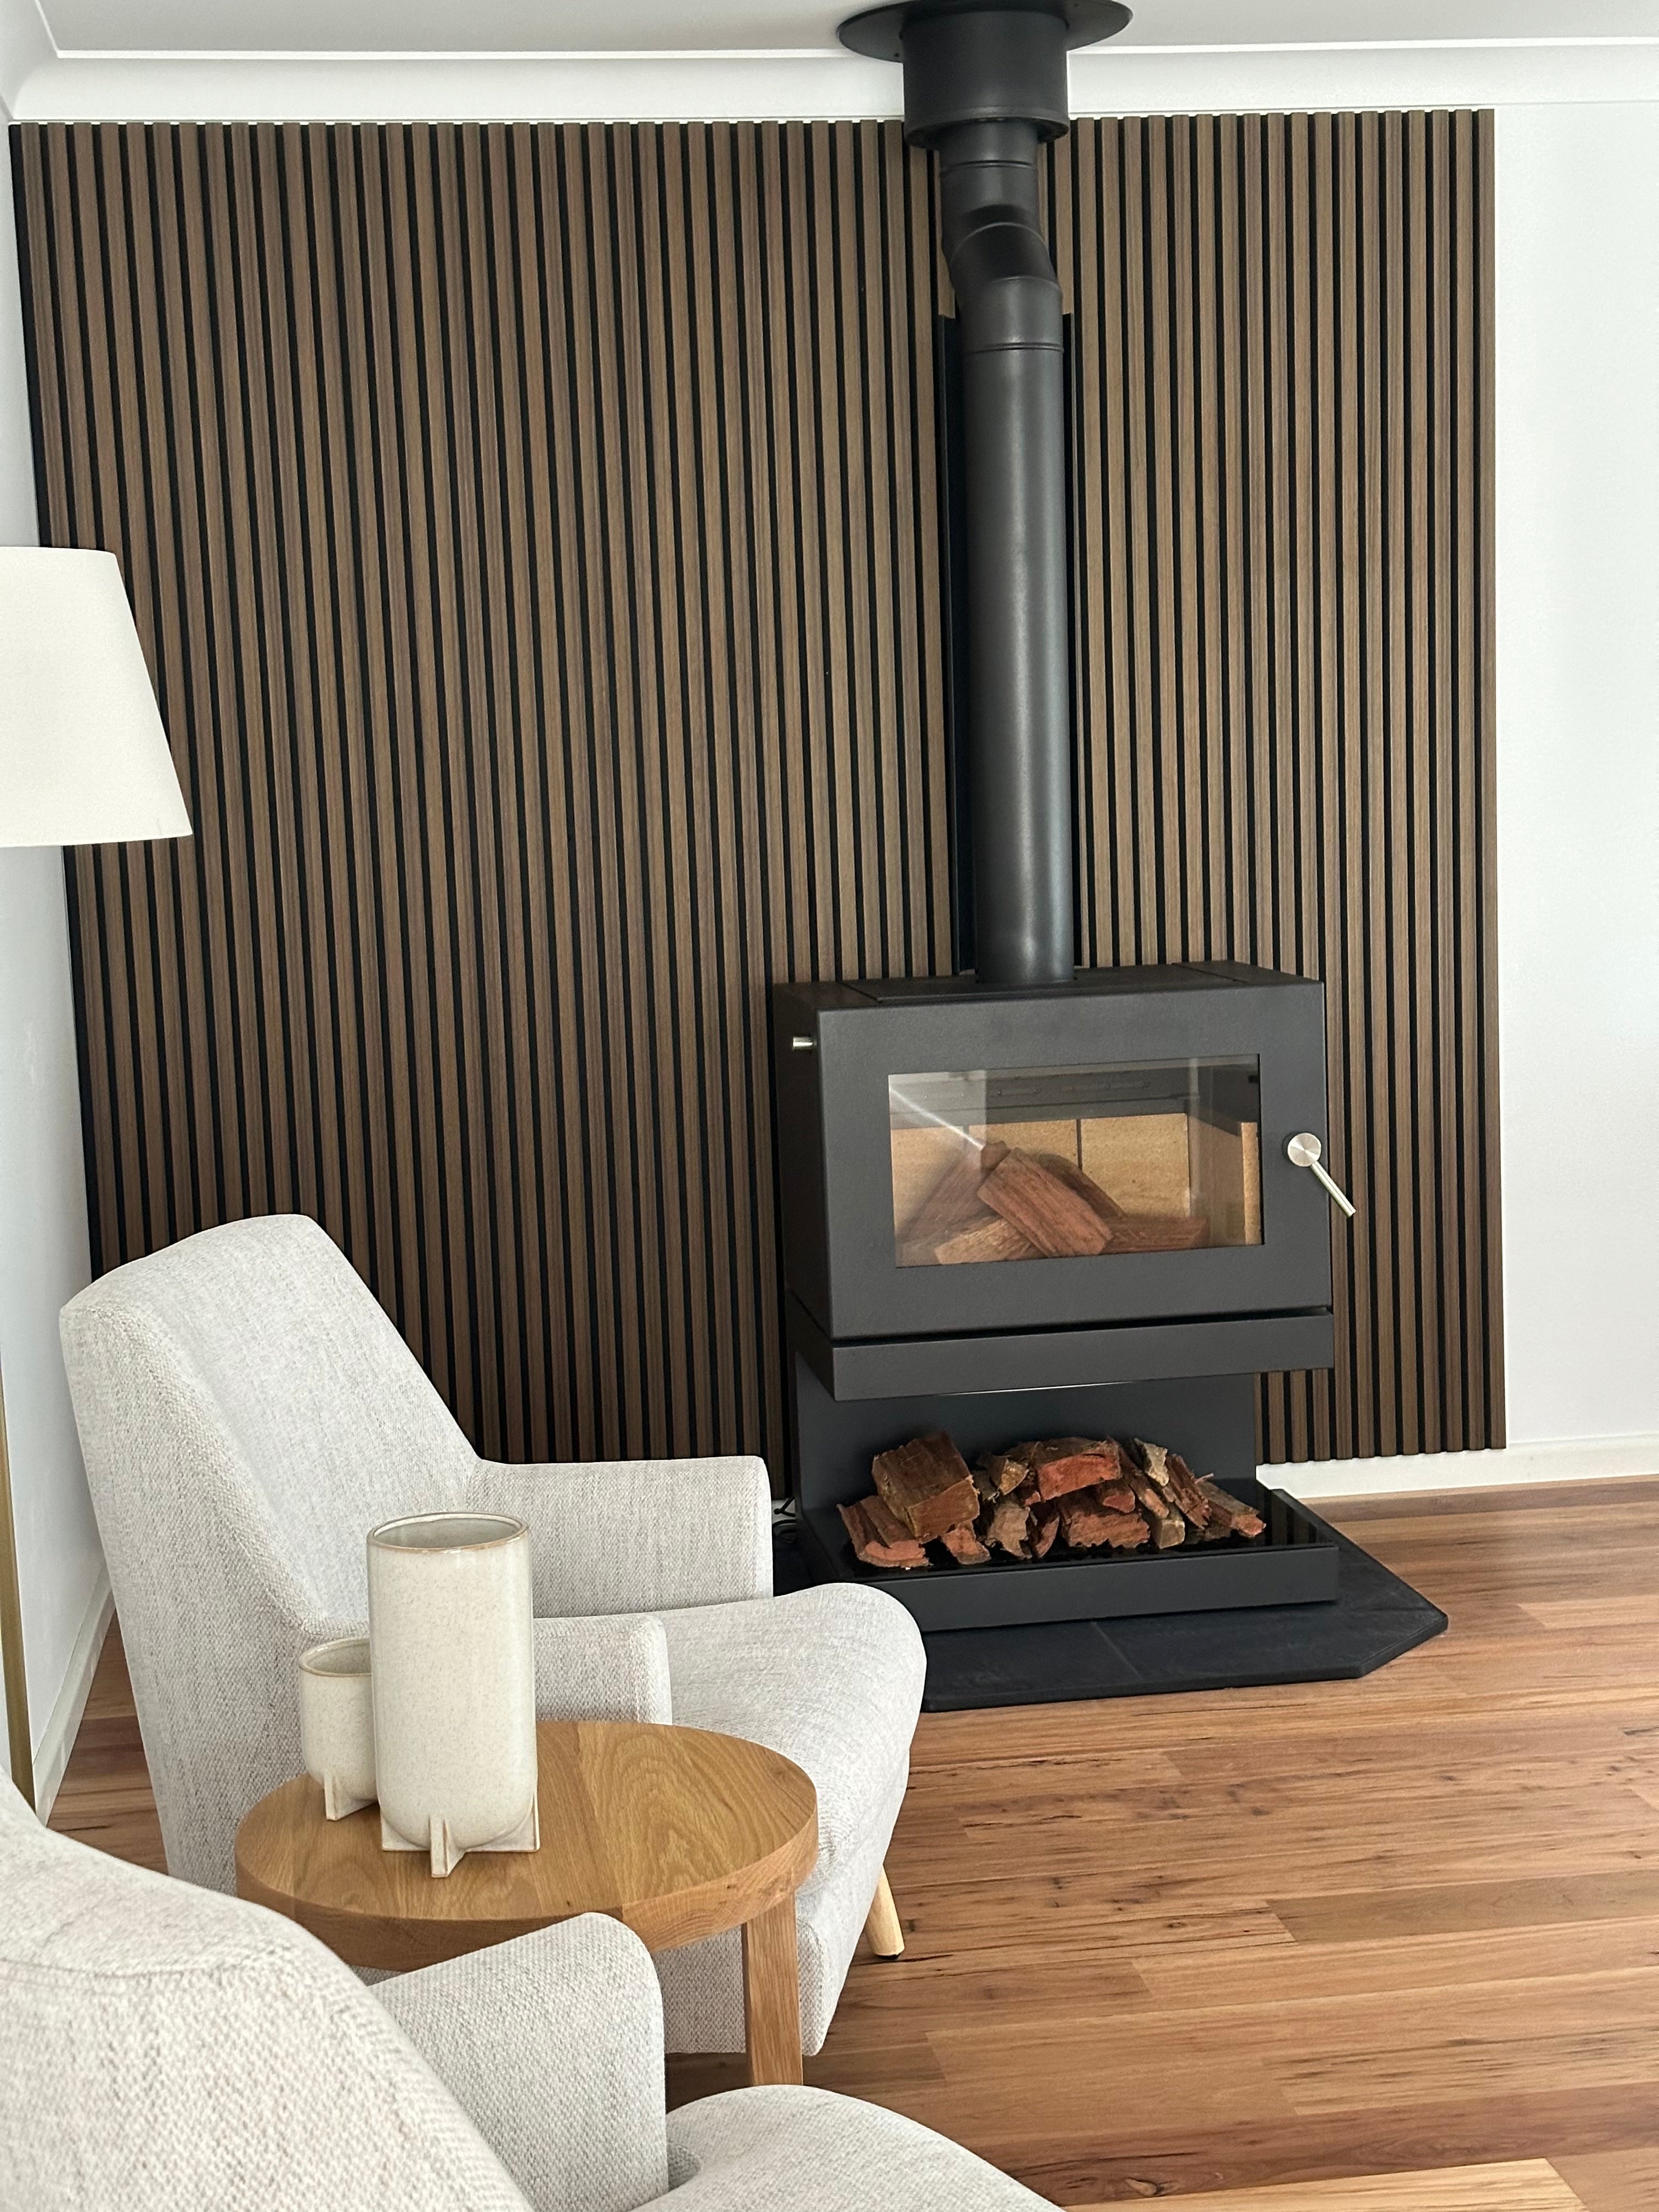
Locate InstallerLuxpanels are the ideal DIY project, even for beginners. With quick and easy installation, you'll be amazed at how effortlessly you can transform your space. Elevate your interiors with our stunning indoor acoustic panels, making every room a canvas for your creativity.
To complete your indoor panel install, you will need the following tools and equipment. See tools here.
HOT TIP For beginners, paint a black borderline around the edge of your project wall. This is if you cut your panel too small and more forgiving when you paint it black.
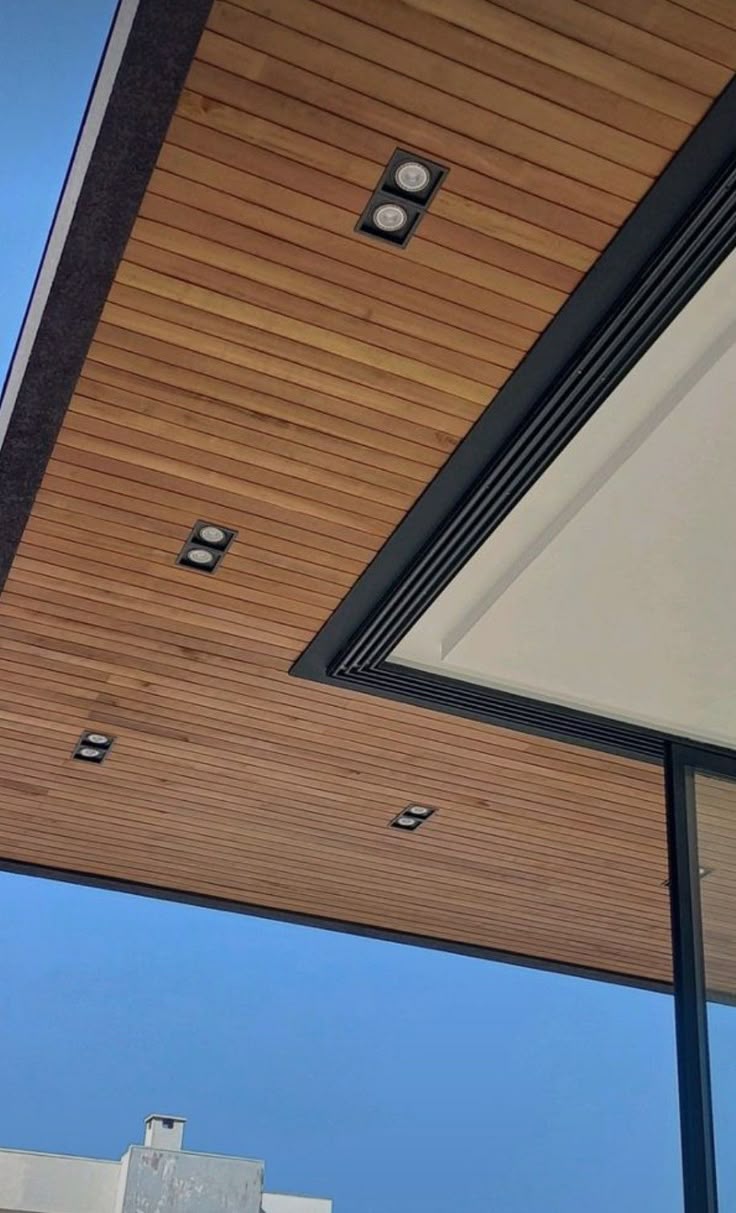
Luxpanels are the ideal DIY project, even for beginners. With our quick and easy installation guide, you'll be amazed at how effortlessly you can transform your outdoor space. Illuminate your outdoor areas with our weatherproof, durable and hard wearing outdoor panels.
To complete your outdoor panel install, you will need the following tools and equipment. See tools here.
HOT TIP For beginners, Use an adhesive and screw/s into the very first panel as this will set the straight edge for the job.
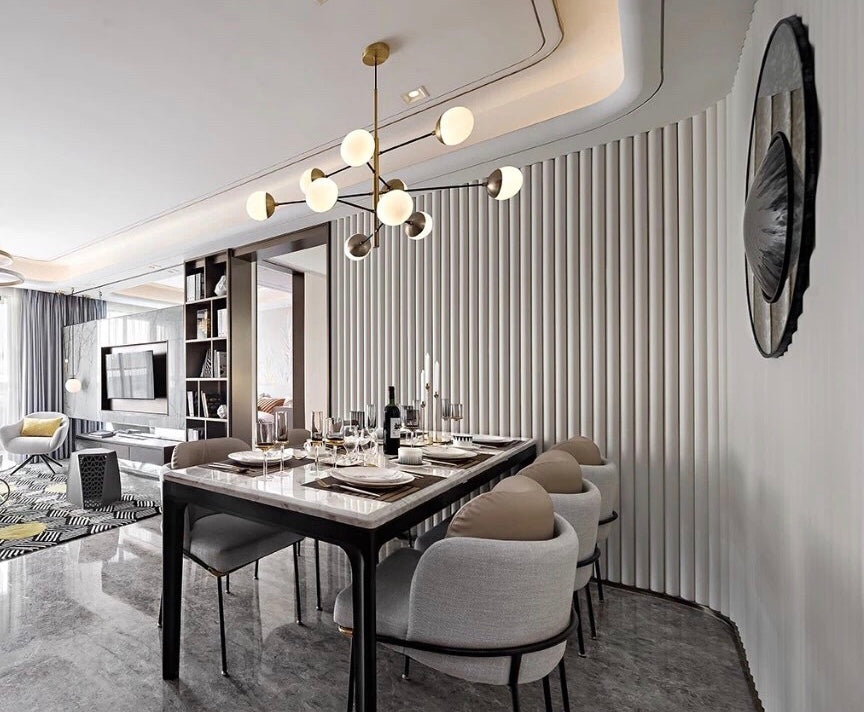
Elevate your interiors with the Deluxe 3D Wall Panels, a premium collection designed to combine artful sophistication with exceptional functionality. Featuring a variety of bold, dynamic designs, this range transforms ordinary walls into stunning, dimensional focal points.
To complete your 3D panel install, you will need the following tools and equipment. See tools here.
Prepare the surface
1. Measure and Mark:
2. Cut Panels to Size:
3. Apply Adhesive Glue:
4. Position the Panel:
5. Repeat the Process:
6. Final Touches:
Tips for Best Results:
Enjoy your newly transformed space with the elegance and sophistication of Deluxe 3D Wall Panels!
Luxpanels G-Plank is a next-generation cladding solution that combines our signature tongue-and-groove profile with the strength and reliability of non-combustible aluminium. Designed for both interior and exterior applications, G-Plank delivers the refined look of timber with the long-term benefits of aluminium—fire resistance, low maintenance, and outstanding durability.
To complete your G-Plank install, you will need the following tools and equipment. See tools here.
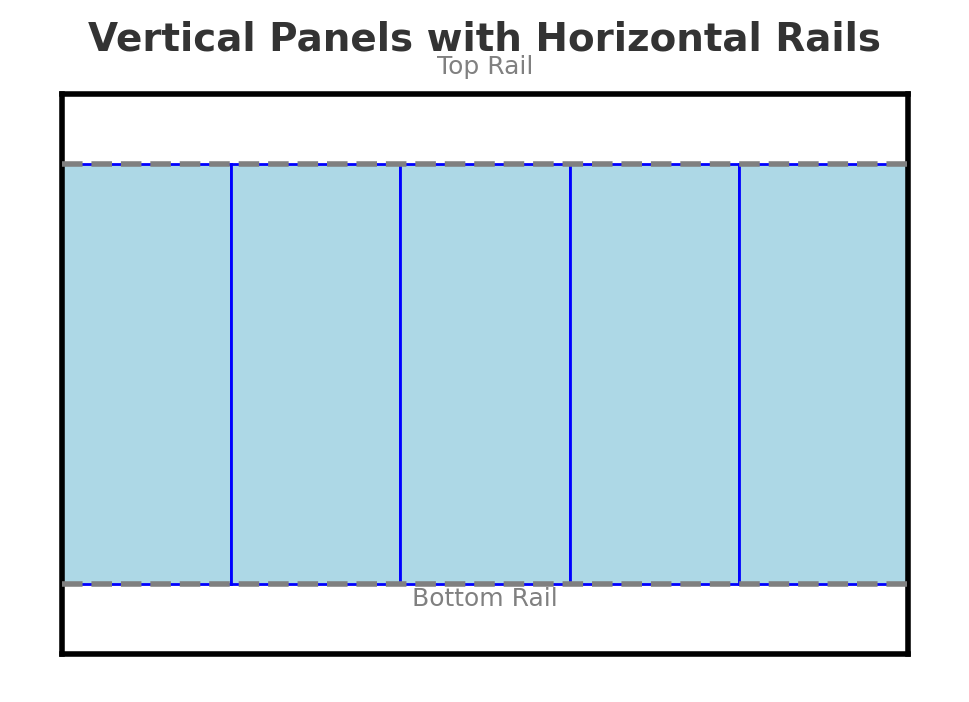
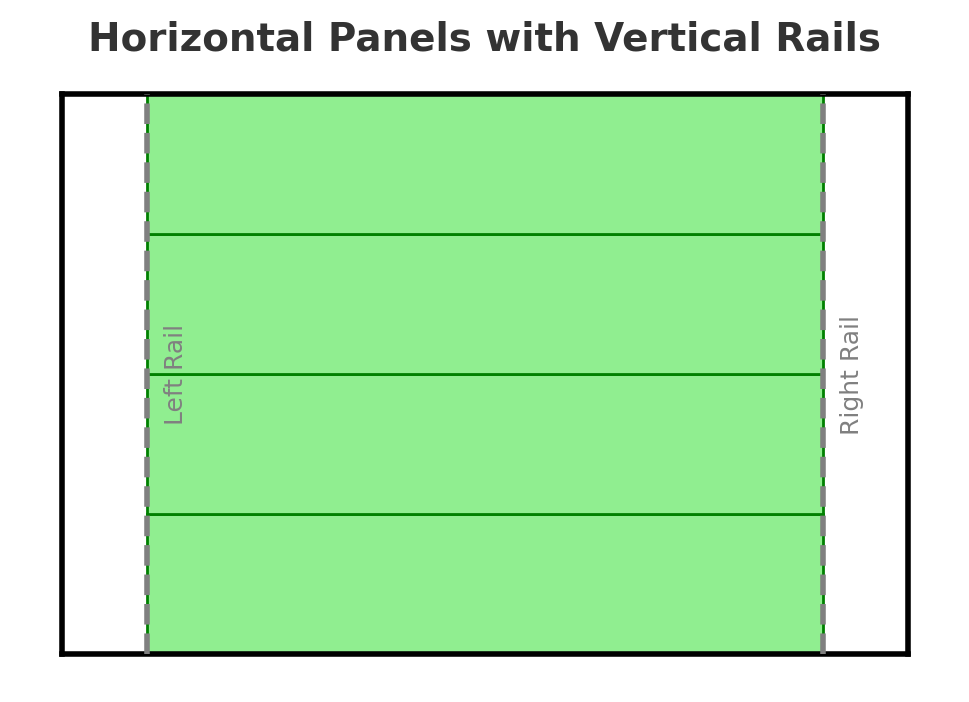
Step 1 – Mark Rail Positions
Step 2 – Fix the First Rail
Step 3 – Fix the Second Rail
Step 4 – Insert and Lock Panels
Step 5 – Continue Across or Up the Wall
Step 6 – Cutting Panels (if required)
Step 7 – Finishing Touches
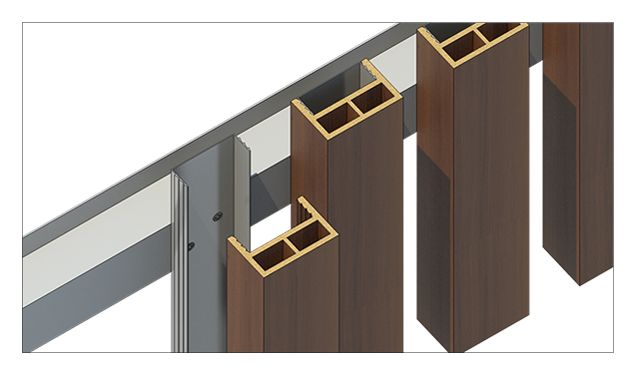
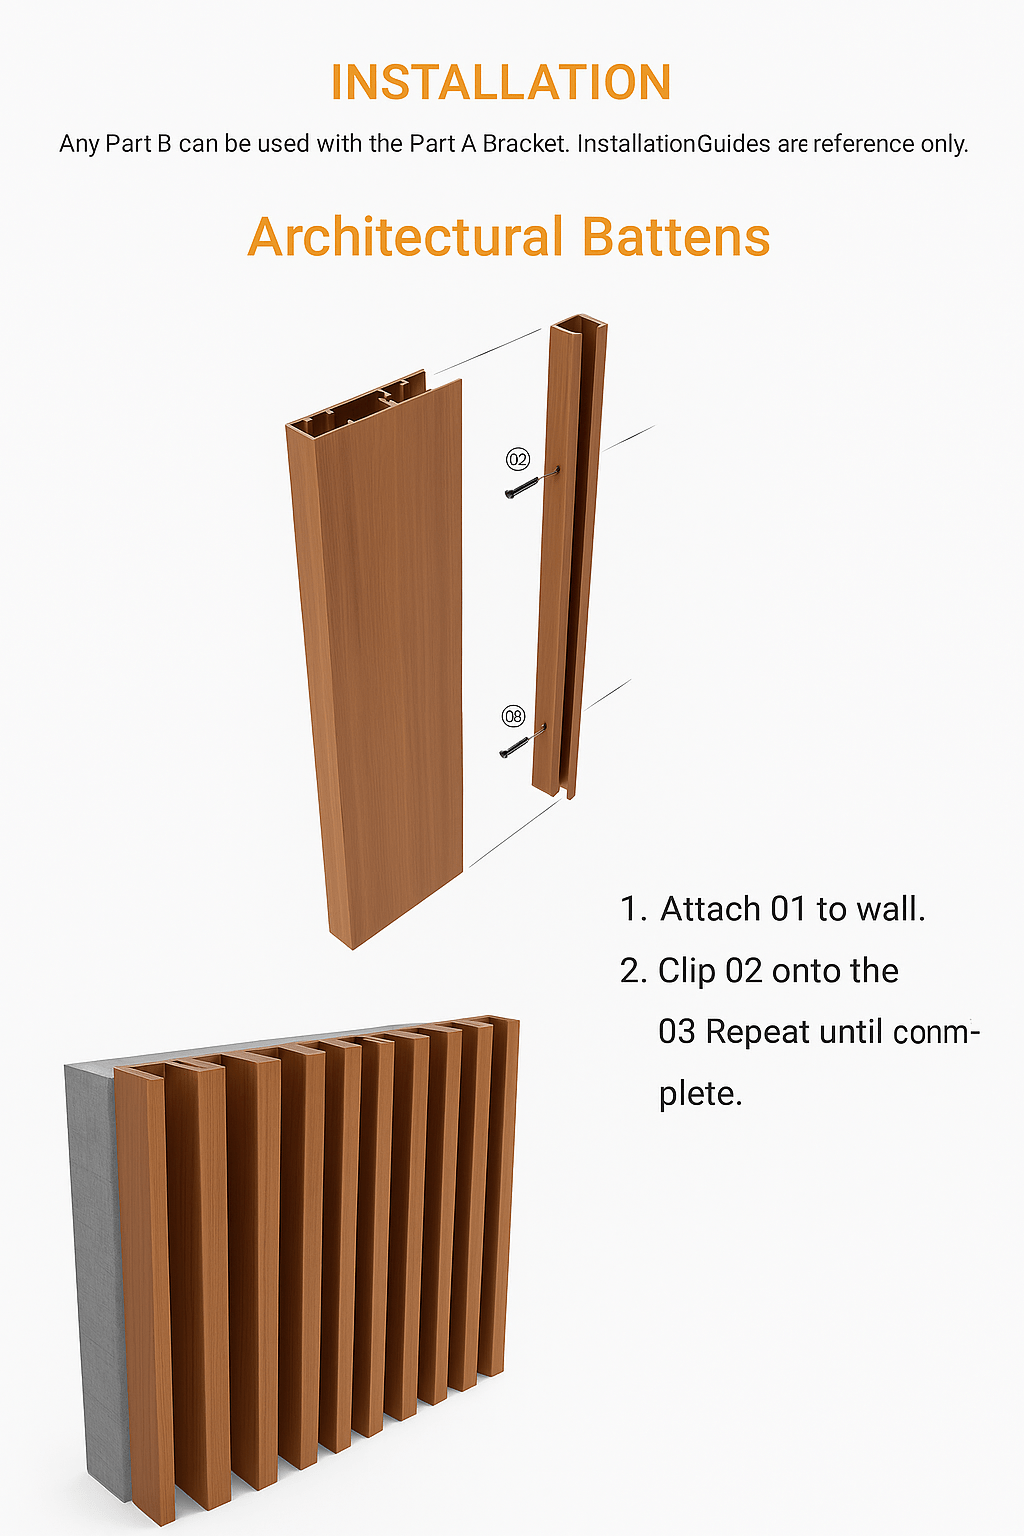
Elevate your space with Luxpanels Snap Fit Batten – a premium architectural solution for both interior and exterior applications. Designed for residential and commercial projects, these battens combine sleek design with superior performance and an easy-clicking system for a flawless finish every time.
To complete your Batten install, you will need the following tools and equipment. See tools here.
2. Attach the Batten Cover (Part 02)
3. Repeat for Each Batten
4. Final Check
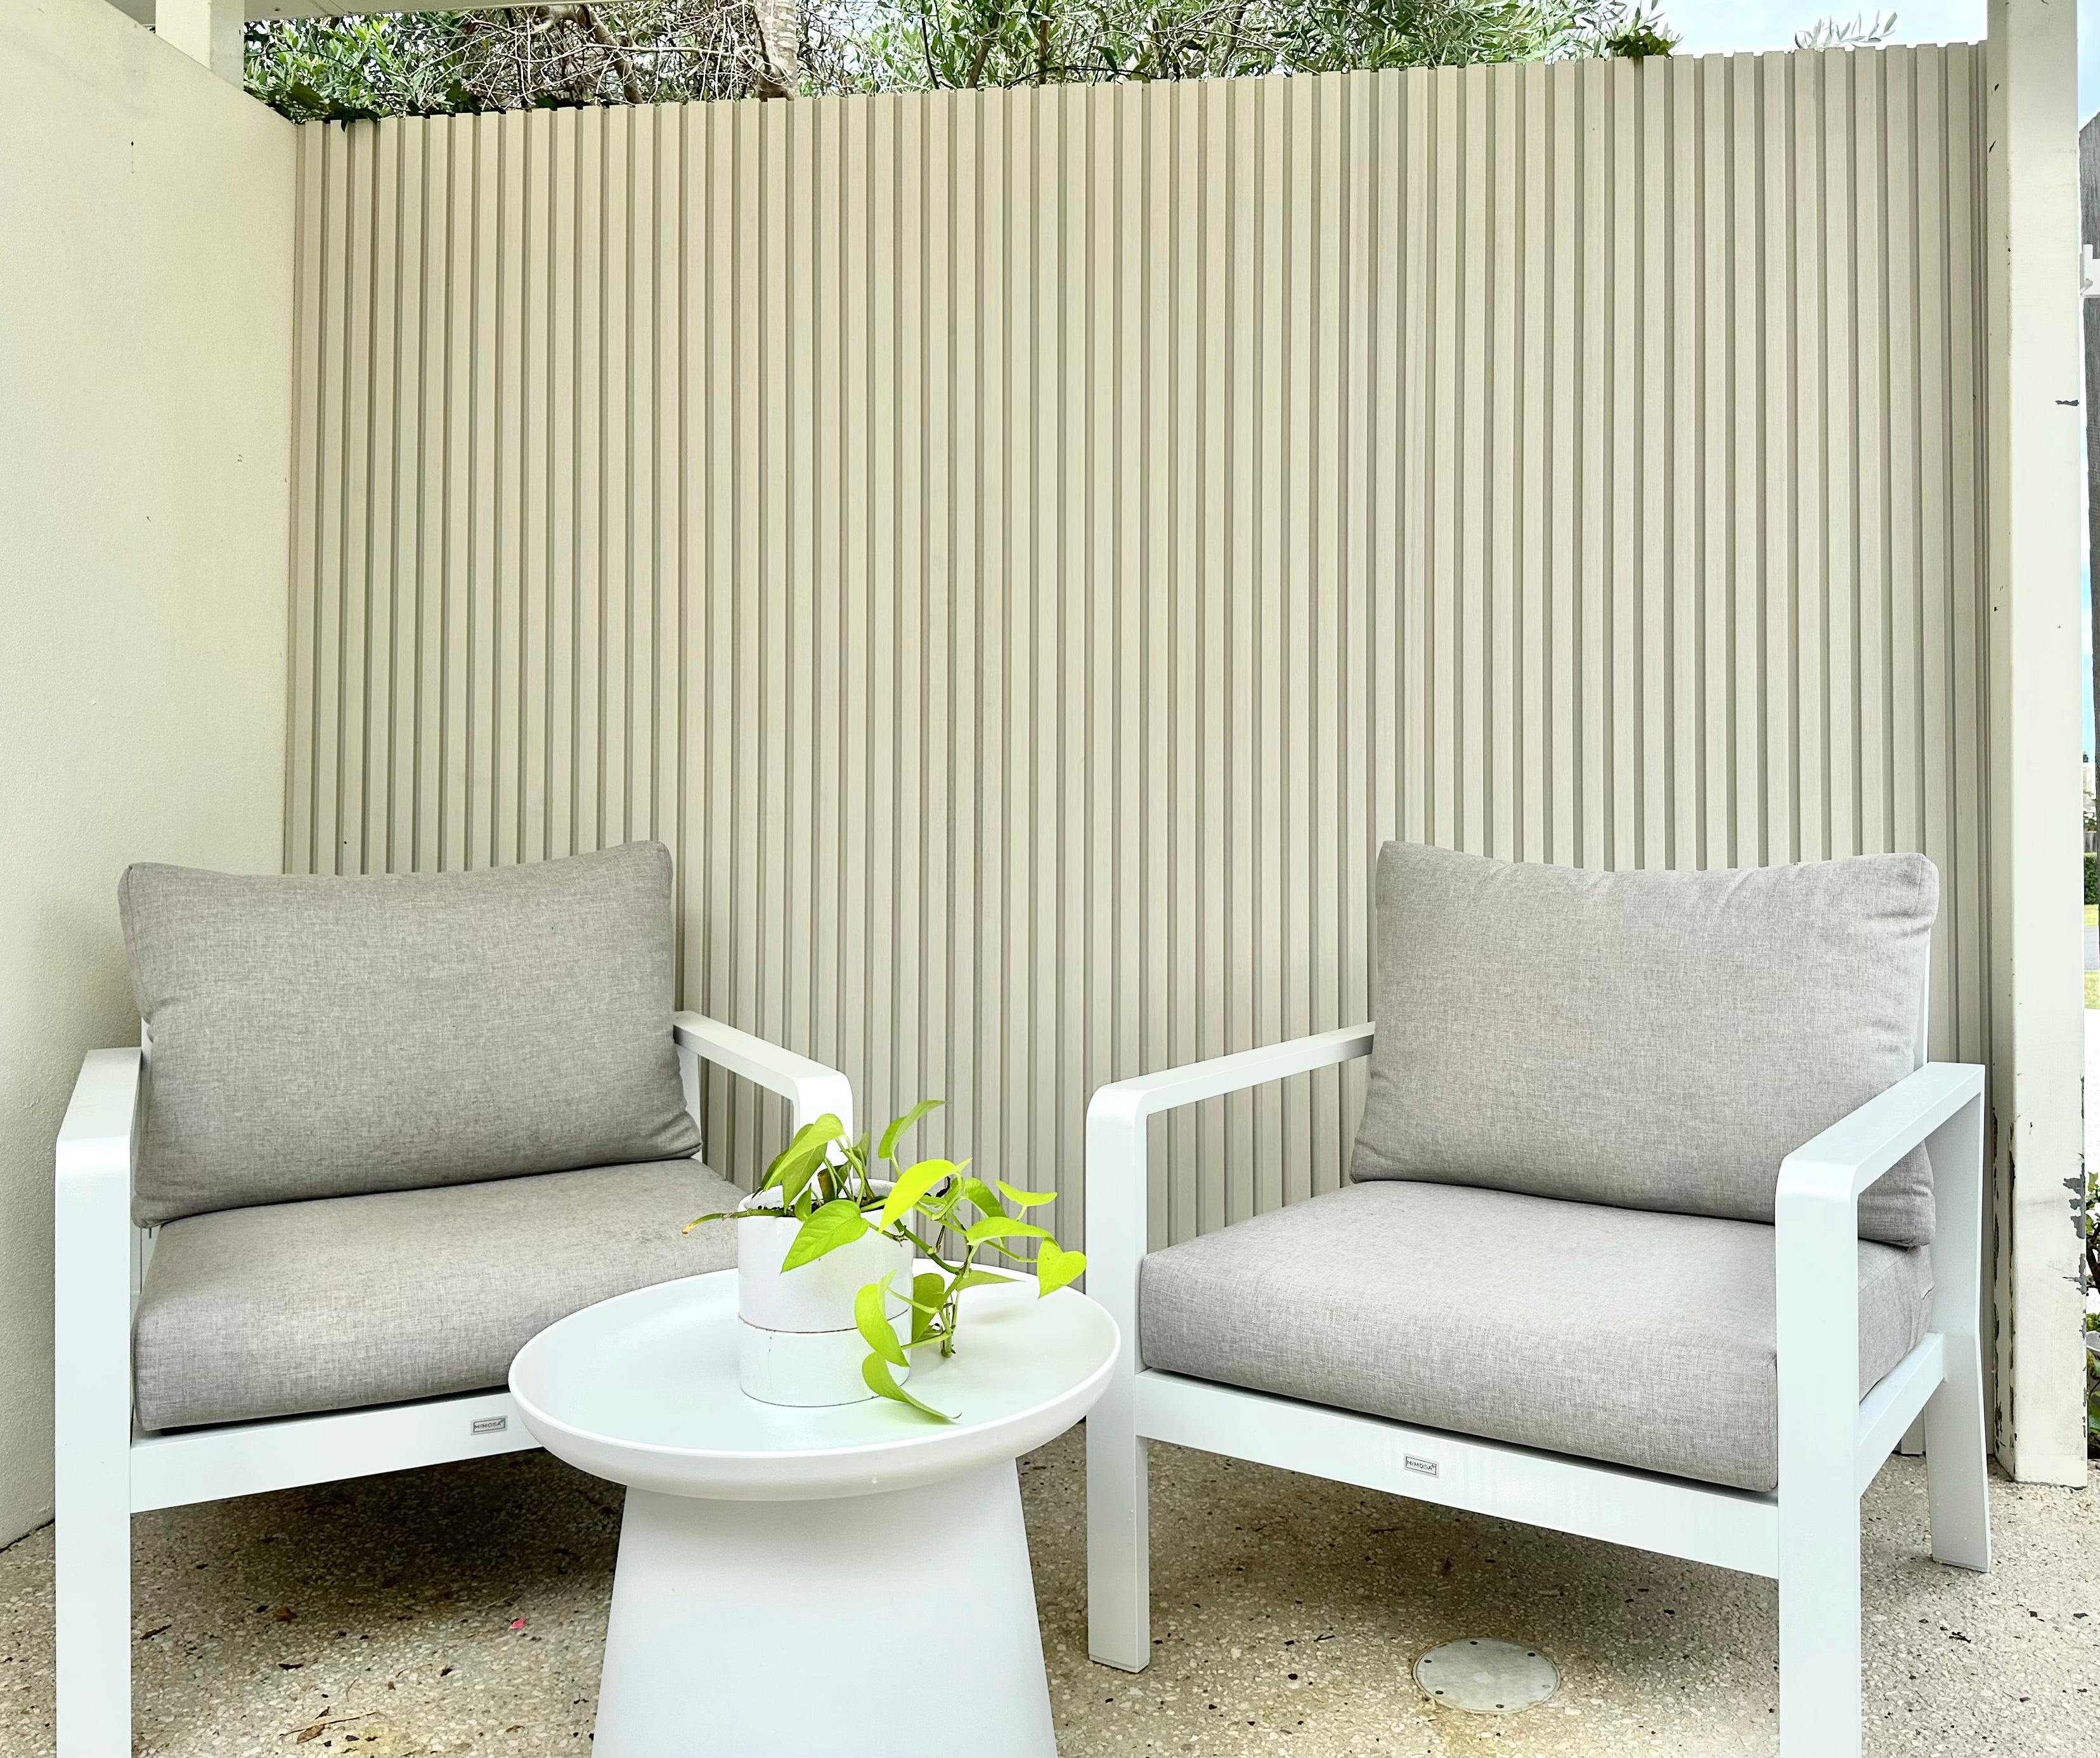
Achieve elegant, low-maintenance screening with Luxpanels Aluminium Privacy Screen Tubes – a premium solution for both interior and exterior applications. Designed to replicate the look of timber while delivering superior durability, these tubes offer a stylish and functional alternative for spaces where timber is not suitable.
To complete your Batten Installation, you will need the following tools and equipment. See tools here.
1. Measure Your Installation Area
Use a tape measure to determine the exact height of your screening location—whether it's floor-to-ceiling, between walls, or into a soffit.
2. Cut Tube to Size (If Required)
If the standard tube height exceeds your required space, trim it using a circular saw or drop saw with an aluminium-cutting blade. Ensure a clean, straight cut.
3. Position Base and Fix to Surface
Place the base plate at your chosen install point (floor or ceiling). Align carefully and use appropriate fixings (screws or bolts) to secure it to the surface.
4. Insert Aluminium Tube
Slide the cut aluminium privacy screen tube over the base insert until it is firmly in place.
5. End Cap
Depending on your install, if the opposite end of your panel is open, please the end cap over the top.
If you have limited access to tools or are short for time, we’ve got you covered! View our list for recommended installers here.
Locate Installer
Australia Wide Shipping

5% off first order

Shop Now, Pay Later with AfterPay or ZipPay
Australia Wide Shipping
5% off first order
Shop Now, Pay Later with AfterPay or ZipPay
Australia Wide Shipping
5% off first order
Shop Now, Pay Later with AfterPay or ZipPay
Australia Wide Shipping
5% off first order
Shop Now, Pay Later with AfterPay or ZipPay